Quick start Rails on Docker
Less boilerplate, more productivity
If you’re starting a new web application and you’re looking to install/use Rails, you’ll know that setting up the environment can take up a long time.
Between installing the right Ruby with rbenv, a database server, users, sessions, write a login flow, and writing a signup flow it can take a loooong time to get to the point where you’re doing something uesful.
Enter docker.
Docker is a containerization framework that lets you run services on reusable Linux containers and across AWS, Azure, Google Cloud Engine, or your own OS X or Windows host machine. There’s a lot of jargon here, but this is what it means for you:
It's faster to start a new project. You can worry less about installing boilerplate services like the web app, a million dependencies (runtimes, gems with native extensions). You can start right at what’s fun – your application logic.
Write once, run anywhere. Provisioning and deploying a production instance (even on another operating system!) is just one line of change:
RAILS_ENV=developmenttoRAILS_ENV=production
Step 0. Install Docker and Docker Compose on your host
Installation: https://docs.docker.com/engine/installation/
If your host machine runs OS X or Windows, the native Docker Beta which uses native virtualization - xhyve VM with an Alpine linux kernel on OS X - is recommended. This has less overhead than using the older boot2docker service, which runs a full traditional VM over VirtualBox.
Step 1. Clone this repository
|
Step 2. Build a network of containers
|
Step 3. Go forth and prosper.
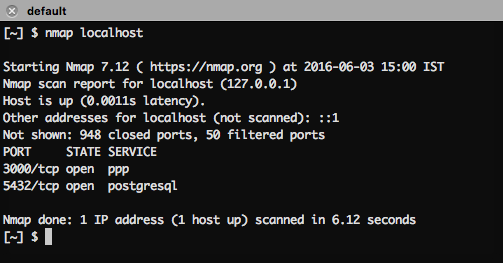
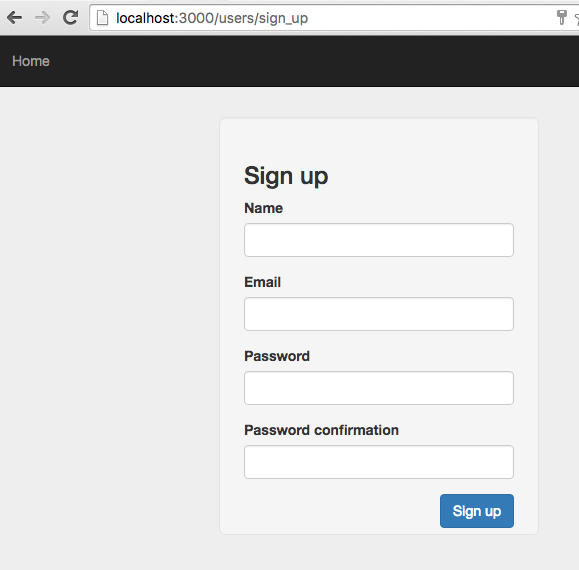
Your Rails web server runs on a docker container, and is port mapped to localhost:3000. Your Postgres database service runs on a docker container, and is port mapped to localhost:5432
Step 4. Spinning down docker containers:
|
Result

